Now that I have some characters and a loose plot idea, it's time to turn it into something I can work from.
I use an app called Scrivener for all my writing. has some incredibly useful features, such as folders for reference materials and linked documents for writing out detailed notes. It's also got a great comic book template built in, which is nice to work from.
At first, I jot down the synopsis - this is a very high-level breakdown of the story which includes all the cool scenes I want to draw. It's all broad strokes at this point, not getting too bogged down in details. That comes later!

The overview gets expanded into the Story Outline, which is a little bit more structured (the screenshot is cropped just before the halfway point to avoid spoilers). Each bullet point doesn't necessarily map to an individual page, but rather a 'beat' that needs to be hit to drive the story forward.

Now that I have the outline, I can translate that into a page-by-page breakdown. I fine-tune the pacing, trying to end each page on a hook that'll keep the reader engaged. A minor conflict, a big revelation, a hanging conversation... all good page-turners.
Scrivener works differently to a program like Word or Pages. You create each page of the comic script as a separate document, and then compile it into a finished script at the end. If you're working on a film or TV script, you'd create a new document for each scene. It takes a while to wrap your head around how it all works, but it offers great flexibility - if you decide that you want to re-order your pages (or scenes) then you can just drag-and-drop them into a new order and re-compile your document.

The blue underlines are links to other documents inside Scrivener. I use split view to keep the breakdown to the left, and the page I'm working on to the right. That way I can jump back and forth between pages, and I have a reminder on the left of what needs to happen on the page to keep me focussed.
It's important not to have too much happening in a single page, otherwise you end up with dozens of panels and no room for dialogue. I find that between four and eight panels works best, depending on what needs to be shown.
The book is 44 pages - the same length as an Asterix adventure. This is a very conscious limitation on my part, as it's just the right length for a younger child to read on their own without running out of steam. It's also a good amount of work for me - I can only finish so much artwork in a month, and keeping the page count down means I'm more likely to finish the book rather than leave it sitting on my drawing board.
I write, and polish, and write more. I get lots of feedback from friends and family, and close any plot holes that the readers find. Then more polish. Dialogue is general at first (to keep the story moving), then gets refined. When I'm happy with the script, I compile the Scrivener document into a PDF.
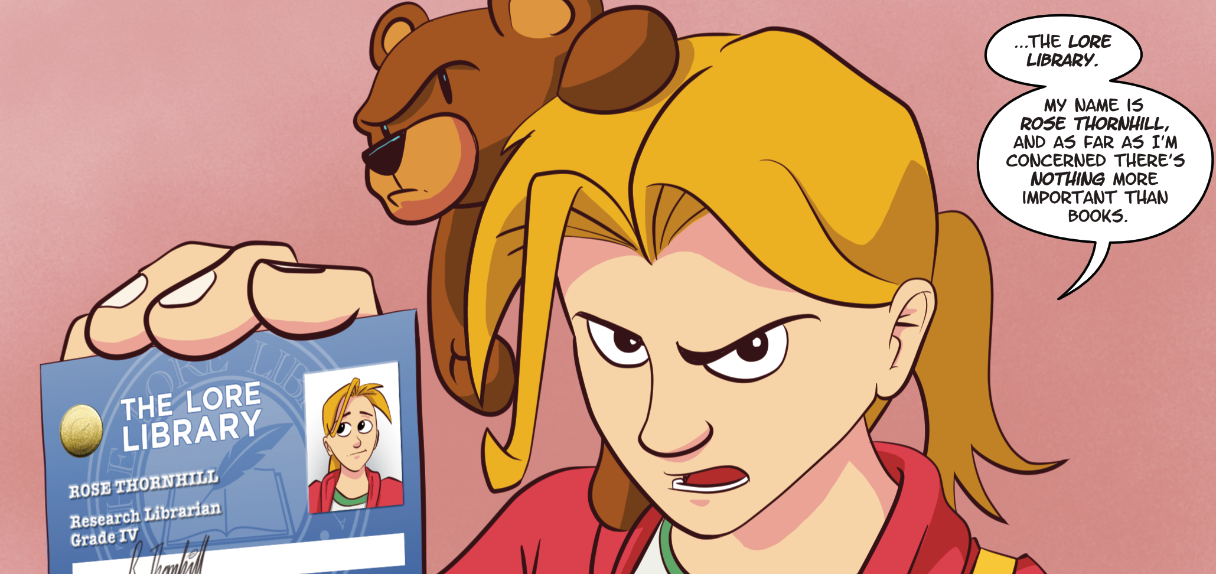
Now I can start drawing. Here's the script for page 2, and the finished page for comparison. There are quite a few differences! I don't stop writing when the script is done. I'm not afraid to go off-script if I think the pacing or dialogue needs tweaking (dialogue especially).
When I came to draw page 2, I wanted the reader to feel the passage of time. It's taking Rose and Bee a while to get down the mountain, but the original script kind of zipped straight past that. Adding some extra panels - particularly the traffic snaking down the mountain - helped slow the reader's eye, and make the journey seem longer.
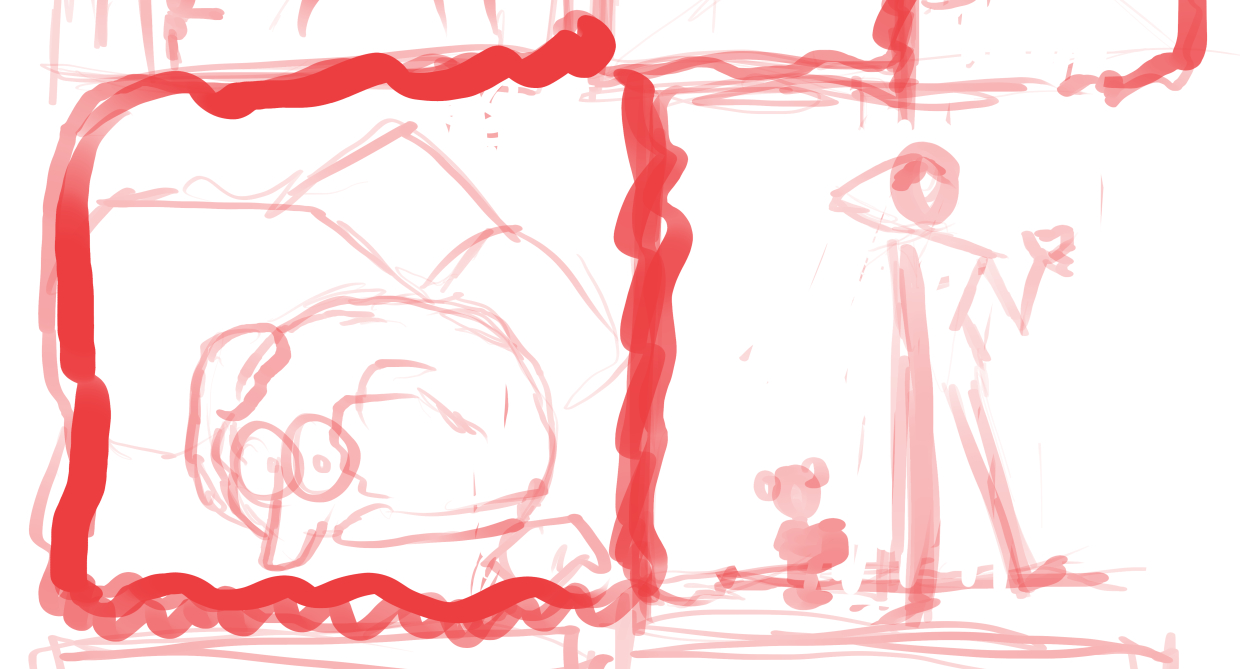
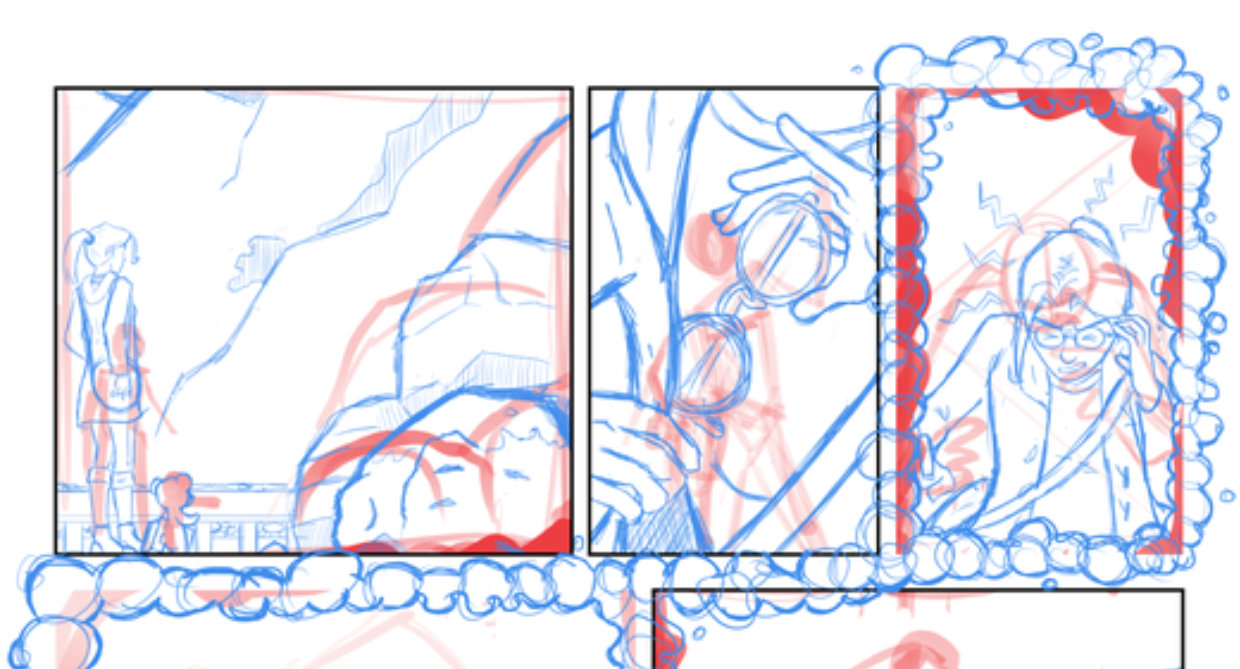
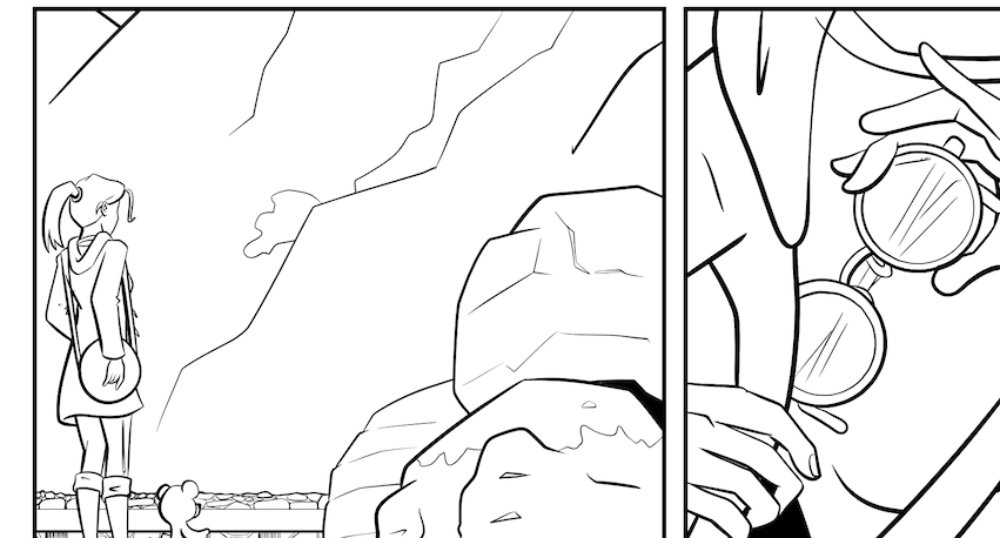
You've seen a finished page, but I skipped the whole art process! It's roughly broken down into five stages:
- thumbnails/layouts
- pencils
- inks
- colours
- lettering
Expect to see separate blog posts for these stages soon!


