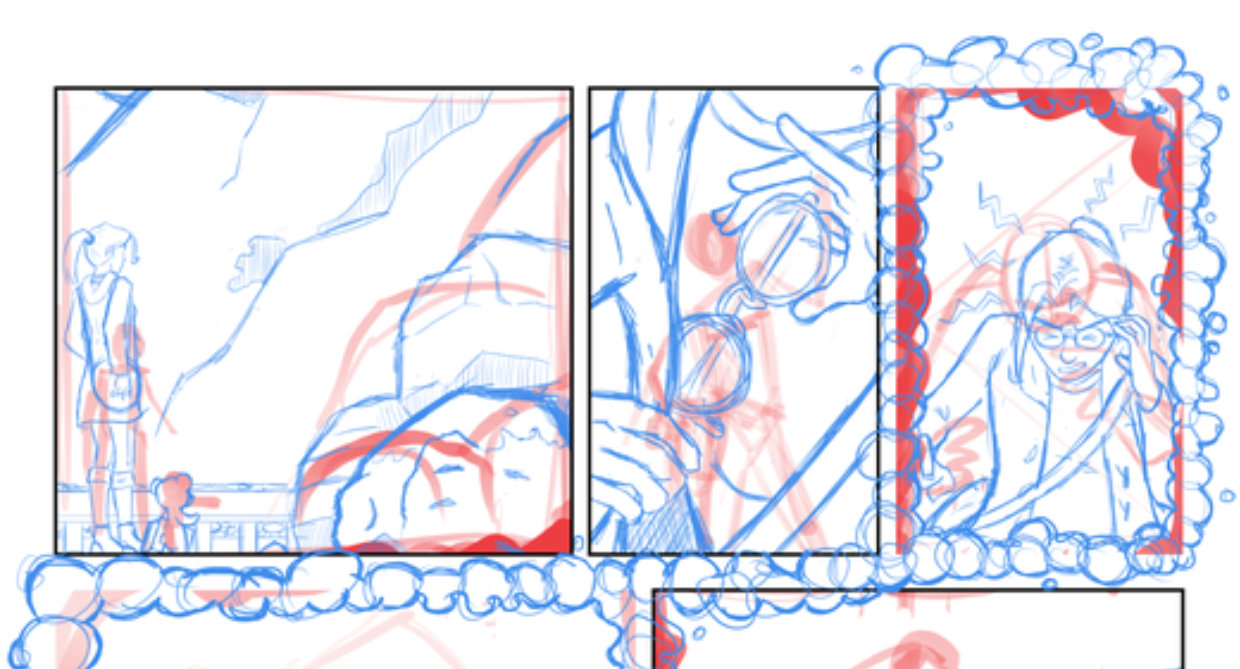
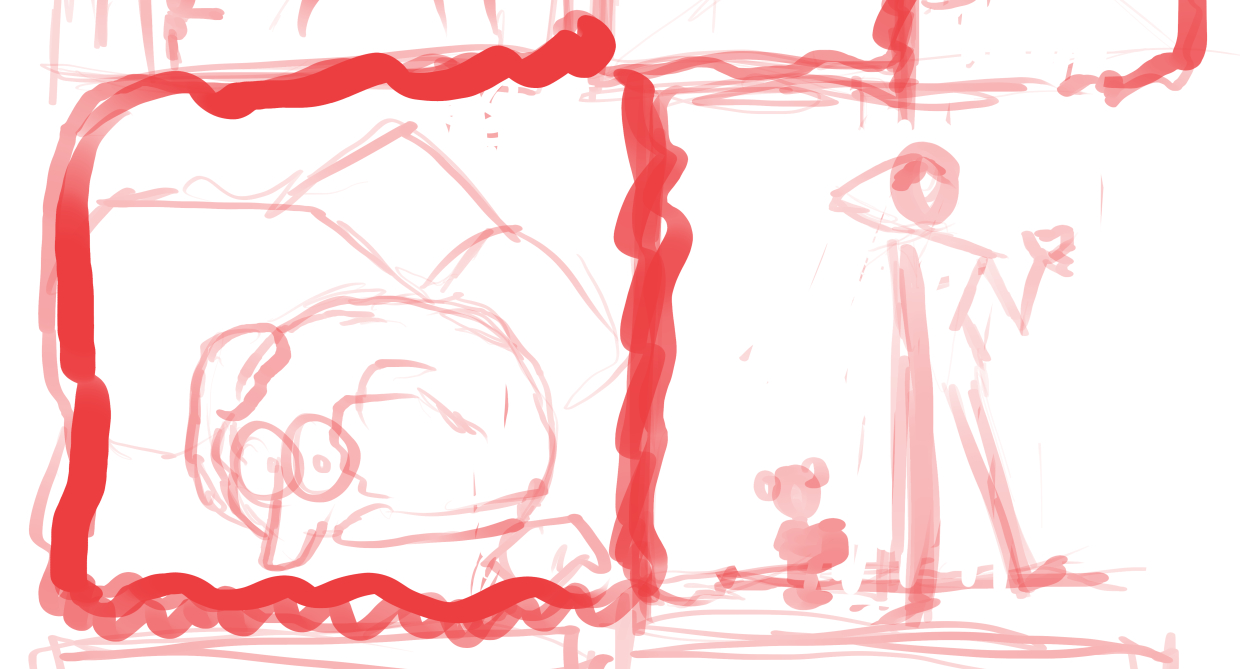
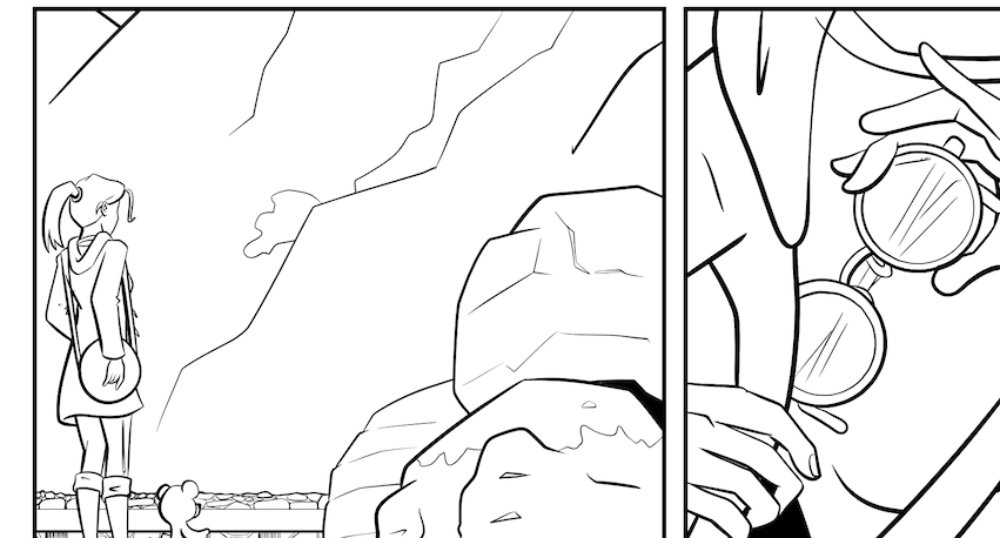
This is where things really take shape. Working on a new layer (in blue) above the rough layouts (in red), I flesh out the loose sketches and add backgrounds using the built-in 'Darker Pencil' tool at around 0.4 size.
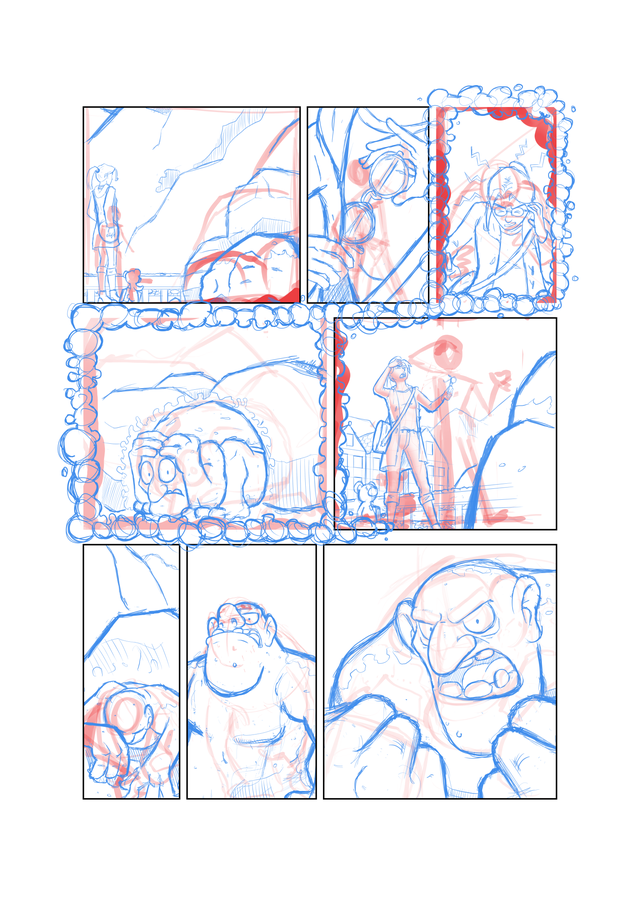
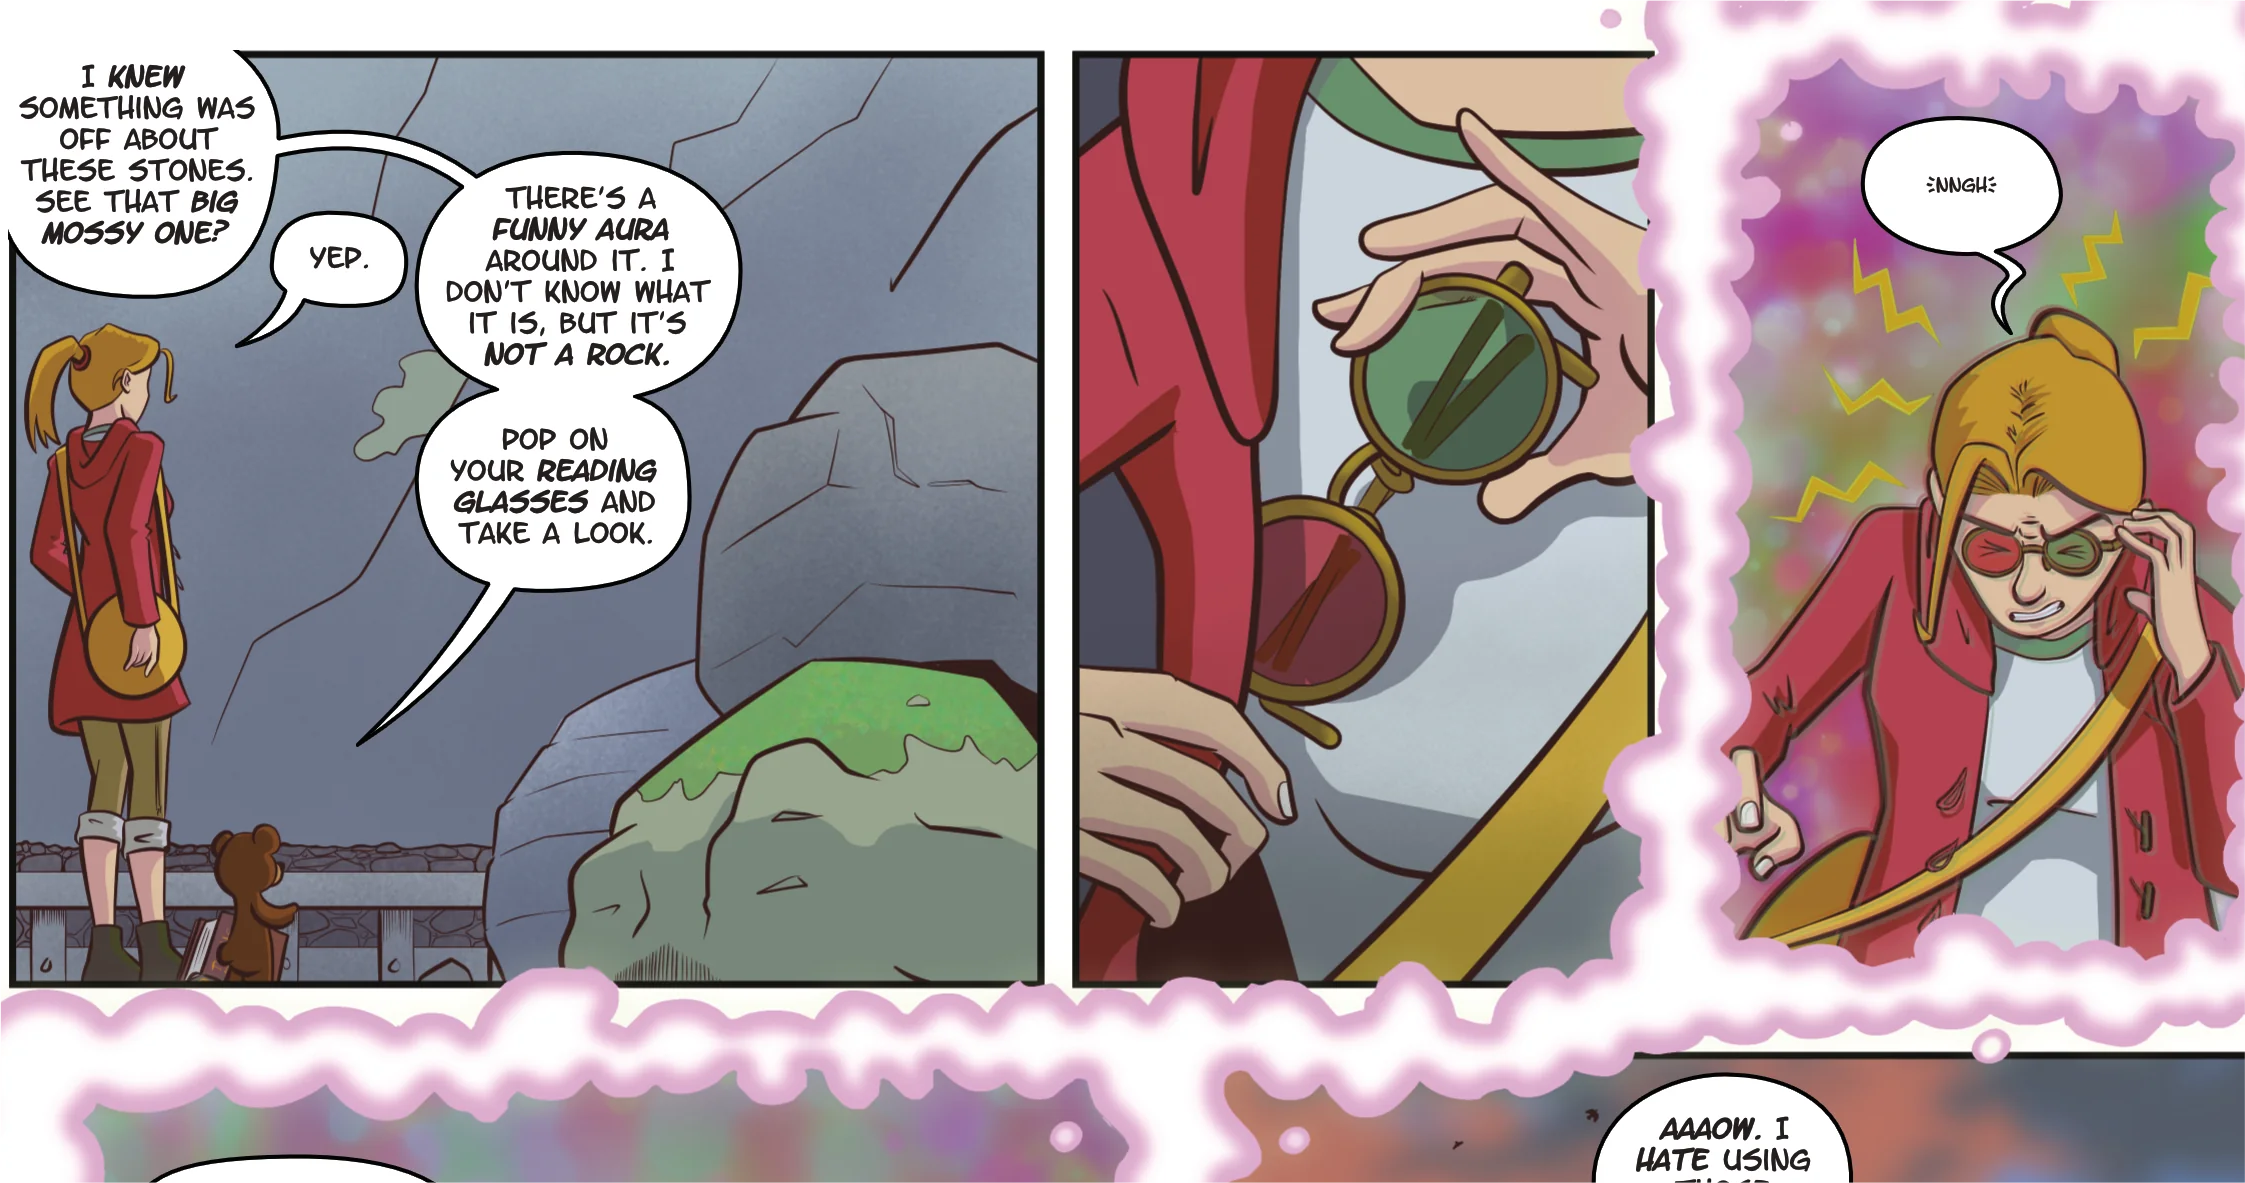
I tend to make sure that the first panel on each page includes a background. This is what's known as an establishing shot - it grounds the reader in the current location and gives them a point of reference to work from. On this page, we can see that we're next to a rockfall; this is an important detail for the coming scene, so I make sure it's prominent in the shot.
I still keep things fairly loose at this point as I know I'm going to ink and colour my own work - if I don't have something 'arty' to do in the next step, I get bored!

You can see in panel 2 that I changed my mind about the framing and pose - the Reading Glasses themselves were the most important thing in this panel, rather than Rose dramatically whipping them out and holding them up. The Glasses would have been too small to see properly.
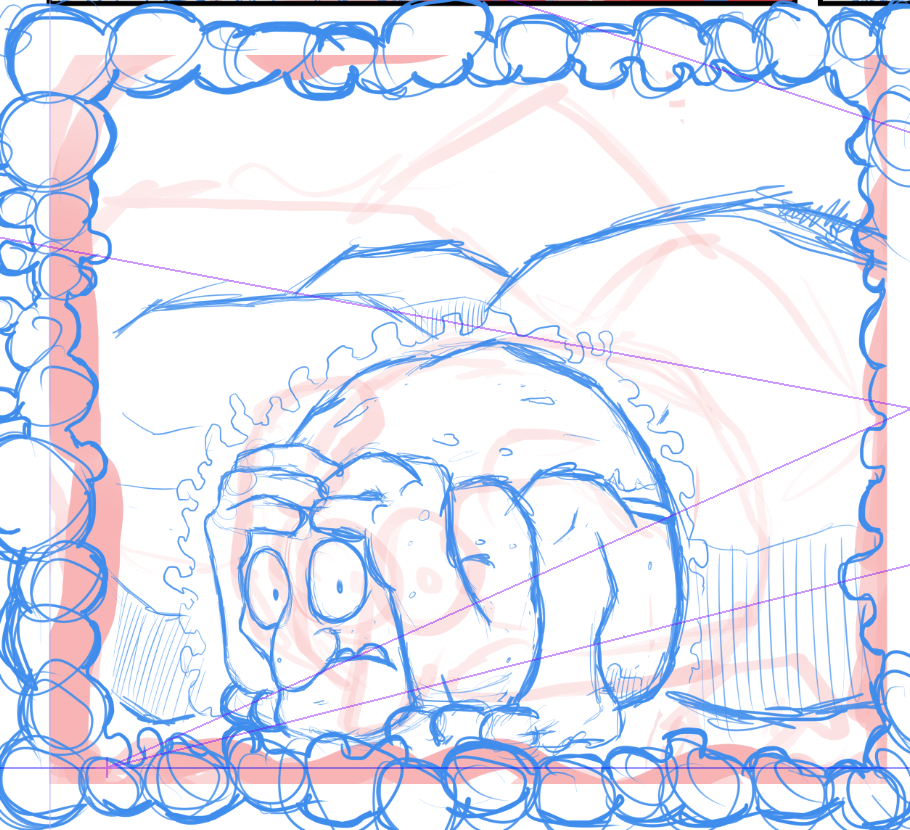
Drawing the non-human characters is probably my favourite thing, as I feel I can push the expressions and poses a lot more. I'm working hard to bring more life to my human figure drawings.
There's a useful feature in Clip Studio Paint: 3D models!
There's a whole library full of characters and objects, many of which are fully posable. If the panel calls for a tricky camera angle, I'll set a up 3D scene, pose the model to match my layouts, and draw over the top.
Setting up a 3D scene helps to keep multiple characters in proportion, and is a quick way to tweak the framing of a shot; you can move the camera around to fit your all your subjects in the panel and adjust your staging with a few clicks.
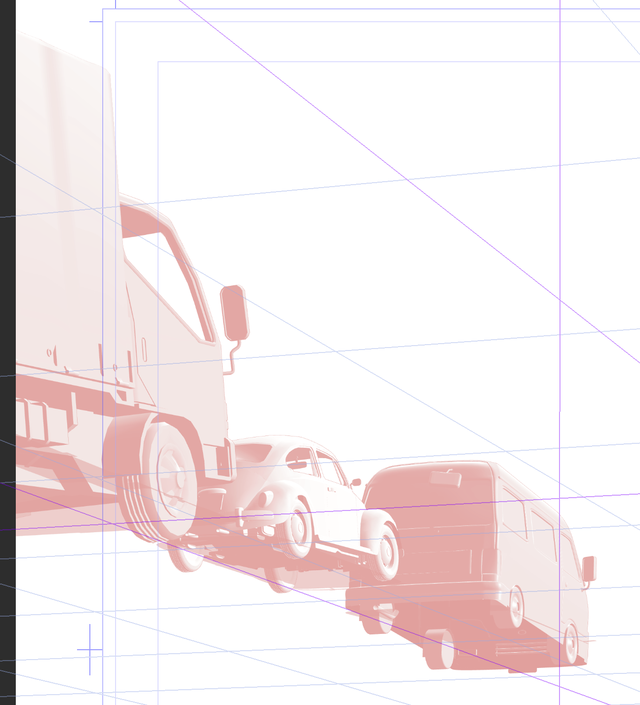
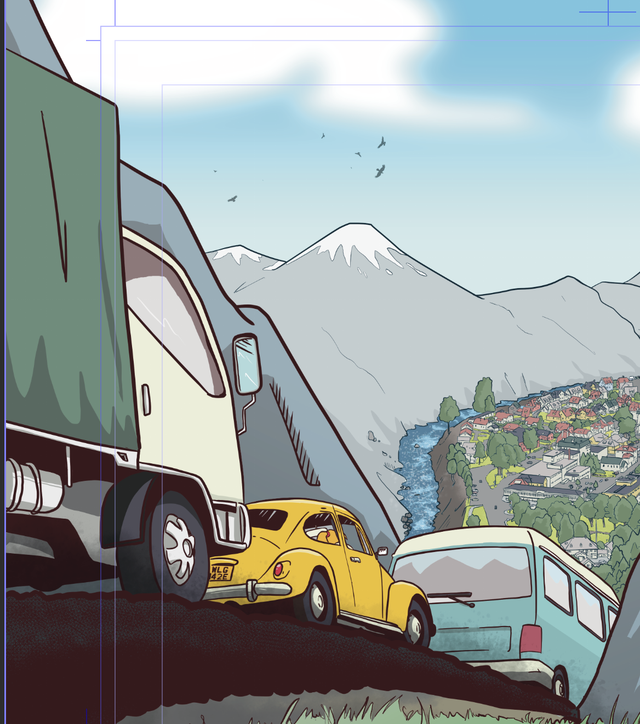
3D is a true blessing when it comes to detailed mechanical objects, like Rose's VW Beetle. This is how I set up the first panel of the first page using objects bought from the Clip Studio Asset store, vs the final artwork.
Adding a 3D layer also sets up a perspective ruler (the purple lines), which you can 'snap' your brush to. I block out the background structures (the bridge wall and houses) with snapping on, then turn it off to freehand the details.
You can see that I altered the framing of this panel to bring the boulder/troll into shot; otherwise, Rose would have been talking to thin air.

And here's the pencilled page in all its glory. It's still messy at this point, but one of the joys of being my own inker is that I can always add more detail and clean things up in the next stage without annoying the artist. Next: inks!

