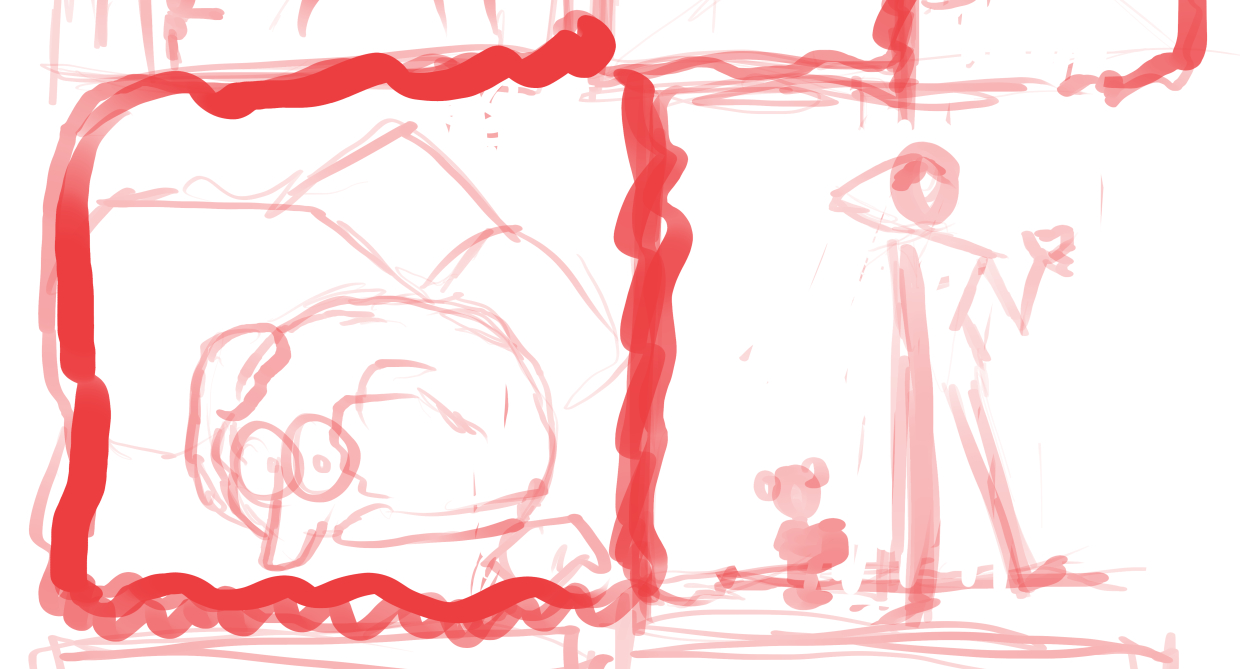
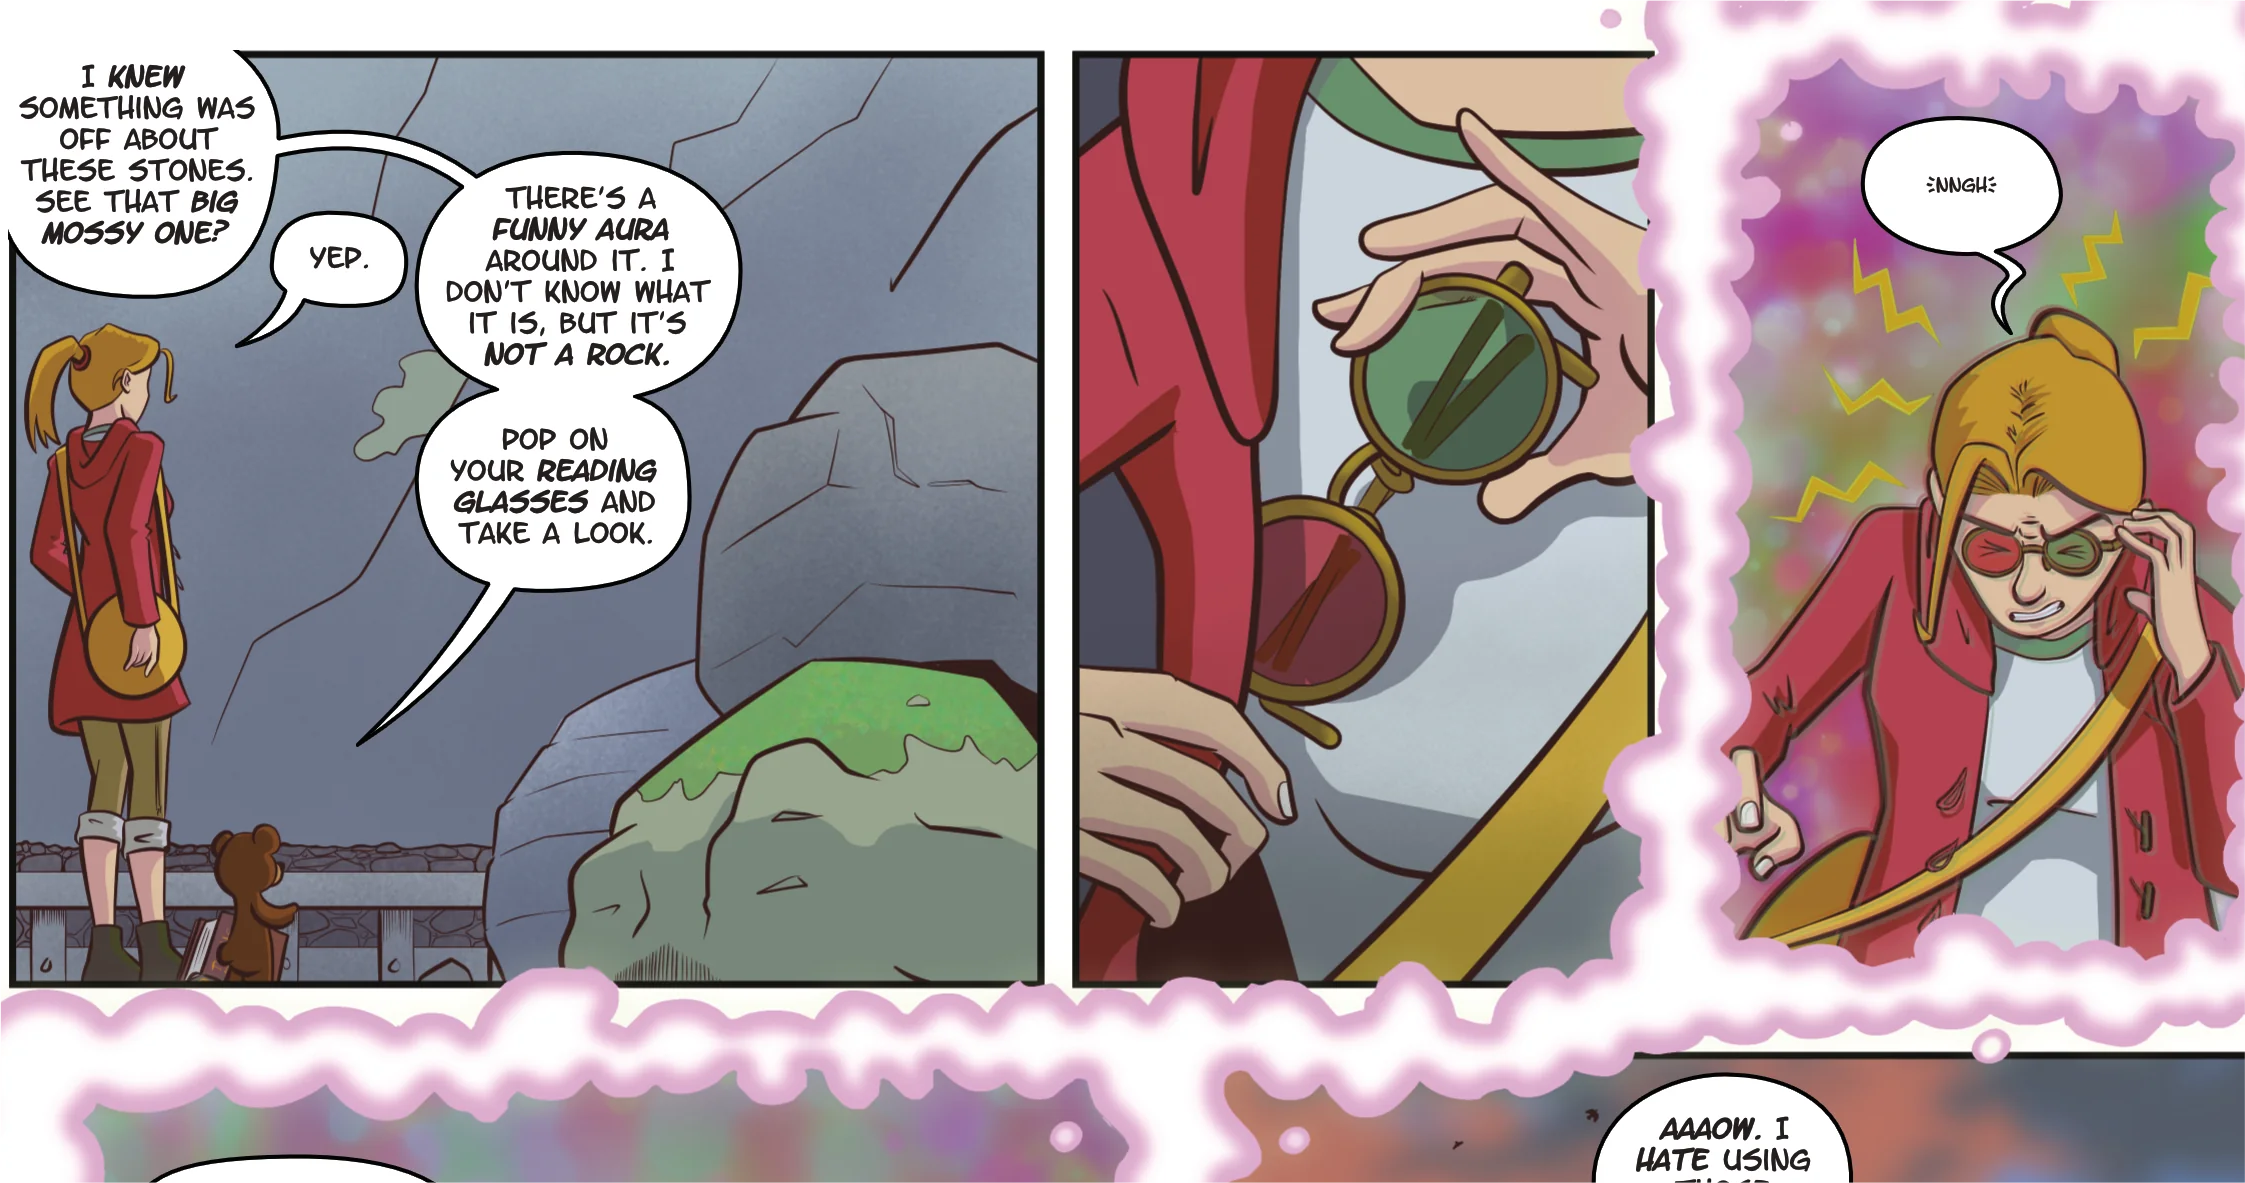
With a finished script in hand, I start working on the art. The first stage is thumbnailing!
I work digitally, mostly on an iPad Pro in Clip Studio Paint. I have a template set up for the whole book, so I open up the page I'm working on and get cracking.

Working in a zoomed-out view on a single layer, I grab one of Ray Frenden's layout brushes and break the page up into panels. I start to block out the figures, trying to guide the readers' eyes through the action.
I use a thick brush and work in a zoomed-out view so I don't get stuck noodling on details. At this stage I'm focussed on the energy and flow of the page, and I don't want to spend too long on any single panel.
That comes later.

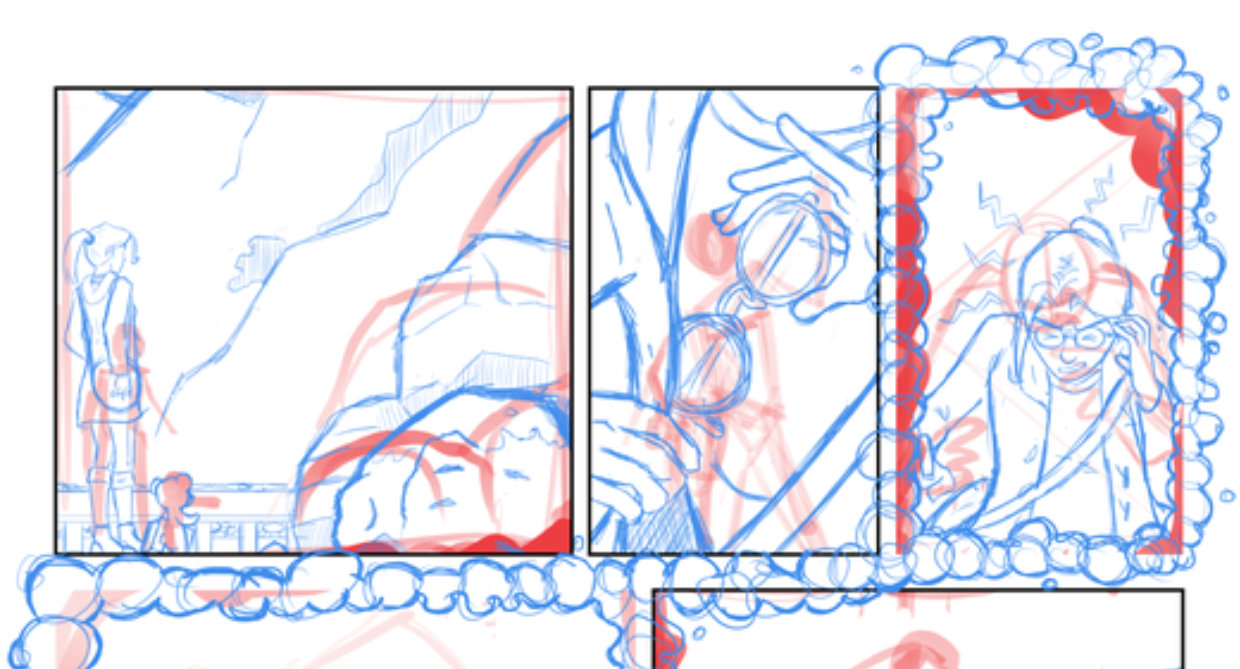
Using CSP's panel tools, I separate each frame into its own layer. This masks off the artwork for individual panels and keeps each one as a separate folder, so I can draw outside the panel borders without spoiling the rest of the page.
If I feel a panel needs more work at this stage, I'll zoom in and add some loose detail. You can see me doing this in the final couple of panels.
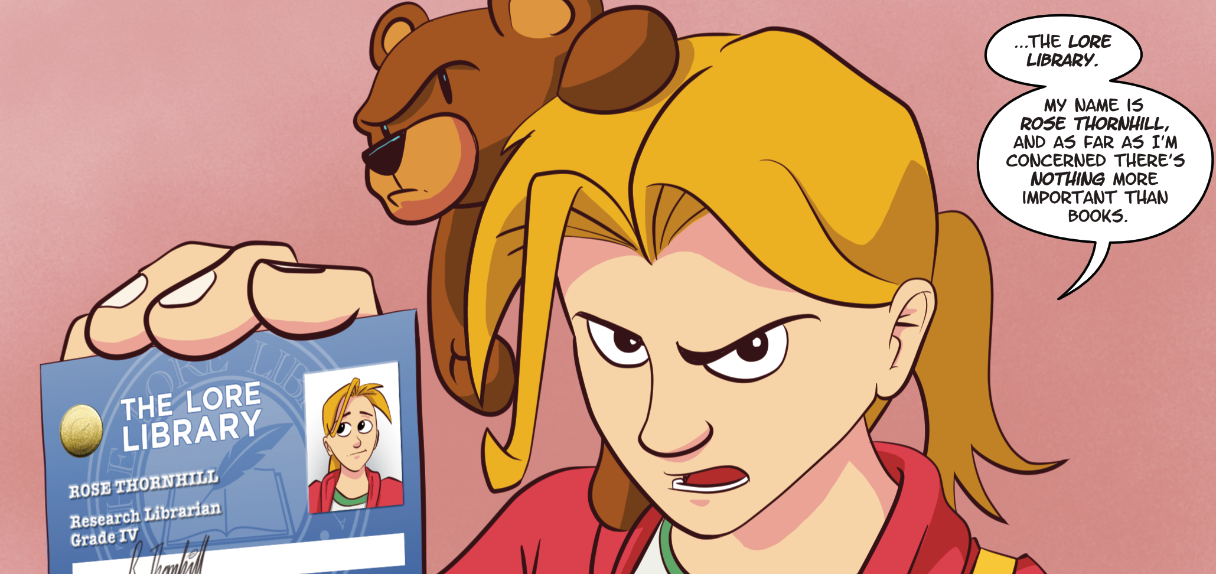
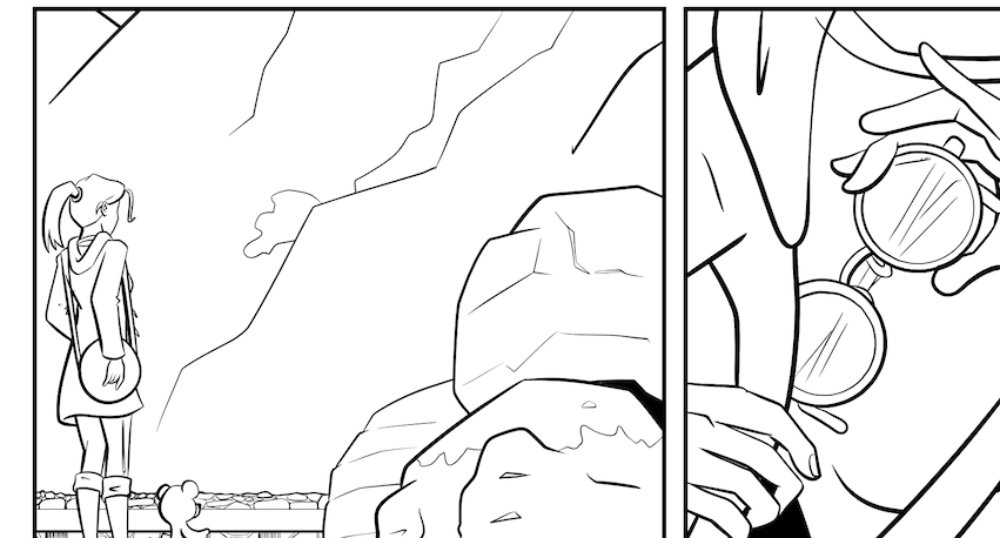
As you can see, I've made some alterations from my first sketches; I'll make even more when it comes to the next stage: PENCILLING!

